I will first talk about why I use docker instead of the host OS. It’s okay for directly jump to the installation stage if you are not interested 🙂
Both GPU and CPU can worked
Docker can run in most of the desktop operating system, including Windows, MacOS, Linux … This article is based on Ubuntu 22.04
Why docker instead of host operating system?
Whether the running efficiency is much higher when deploying SD on local machine?
In my point of view, it really depends. This related to how you defined “efficiency”, there is no doubt that running efficiency is larger by directly deploying it, but what is the consequence? You need to spend way more time and pain for environmental configuration. If you are going to deploy more fun AI or other project in the future, installing a bunch of packages to your computer is not an advisable solution. Because there might have a high possibility for several packages are incompatible. Trust me, if you are not good at manage environments it will be so painful for solving the error issue, don’t ask me why I know this feeling :(.
However if you are using docker, than a wide a bunch of time is saved, and you do not need to worry about the crash of the environment. If you are accidentally breaking the environment inside the docker, no worries, just stop delete and rebuild it. This will have no negatively impact on your host system.
Therefore, I think for using a little bit more storage space and tiny performance lost for convenience and stability is reasonable.
Install docker and Nvidia Docker Toolkit (if you got an Nvidia GPU)
If you have already installed the Docker and Nvidia Docker Toolkit you can jump to next stage
Docker
First run
apt update && apt-get install curl
Directly run the auto installation script provide by official docker website
 curl -fsSL https://test.docker.com -o test-docker.sh
 sudo sh test-docker.sh
Till now the docker is successfully installed, but every time you call the “docker” commend you need to run docker as a root user, there is a method that can add the “docker” to the sudo user, than I believe this will be much convenience than typing sudo
sudo groupadd docker
sudo gpasswd -a ${USER} docker

# restart docker
sudo service docker restart
Nvidia Docker Toolkit
If you do not have an Nvidia GPU, than you do not need to run these scripts
Docker do not have the ability to directly communication with GPU, therefore Nvidia have provided a kind of plug for docker.
Still, just follow by the official guid from Nvidia will be fine
curl -fsSL https://nvidia.github.io/libnvidia-container/gpgkey | sudo gpg --dearmor -o /usr/share/keyrings/nvidia-container-toolkit-keyring.gpg
  && curl -s -L https://nvidia.github.io/libnvidia-container/stable/deb/nvidia-container-toolkit.list |
    sed 's#deb https://#deb [signed-by=/usr/share/keyrings/nvidia-container-toolkit-keyring.gpg] https://#g' |
    sudo tee /etc/apt/sources.list.d/nvidia-container-toolkit.list
sed -i -e '/experimental/ s/^#//g' /etc/apt/sources.list.d/nvidia-container-toolkit.list
sudo apt-get update
sudo apt-get install -y nvidia-container-toolkit
Till now, the pre stages are all done 🙂
Install Stable Diffusion Web UI in Docker
We will use the repository from AbdBarho: https://github.com/AbdBarho/stable-diffusion-webui-docker
Find a place that you want to store the file. If you do not know where to store, you can directly create a folder in your user directory
cd /home/(your user name)
mkdir stable-diffusion-webui-docker
cd stable-diffusion-webui-docker
Next me need to clone this repository, make sure you have install the “Git” tool (which is a command line tool which can download the GitHub repository)
# install Git
sudo apt update
sudo apt install git

# clone the repository
git clone https://github.com/AbdBarho/stable-diffusion-webui-docker.git
Start configuration
The configuration may take about 5 – 10 minutes, please be patient
# run this first
docker compose --profile download up --build

# after built the images run the following scripts
docker compose --profile auto up --build
Till now the installation and configuration is already done, the Web UI is working on the ports of 7860
If you use the browser on that machine, you can directly type the URL http://localhost:7860
And if you deploy that on the remote server you can open the browser and type http://(your-server-IP):7860 to reach that page
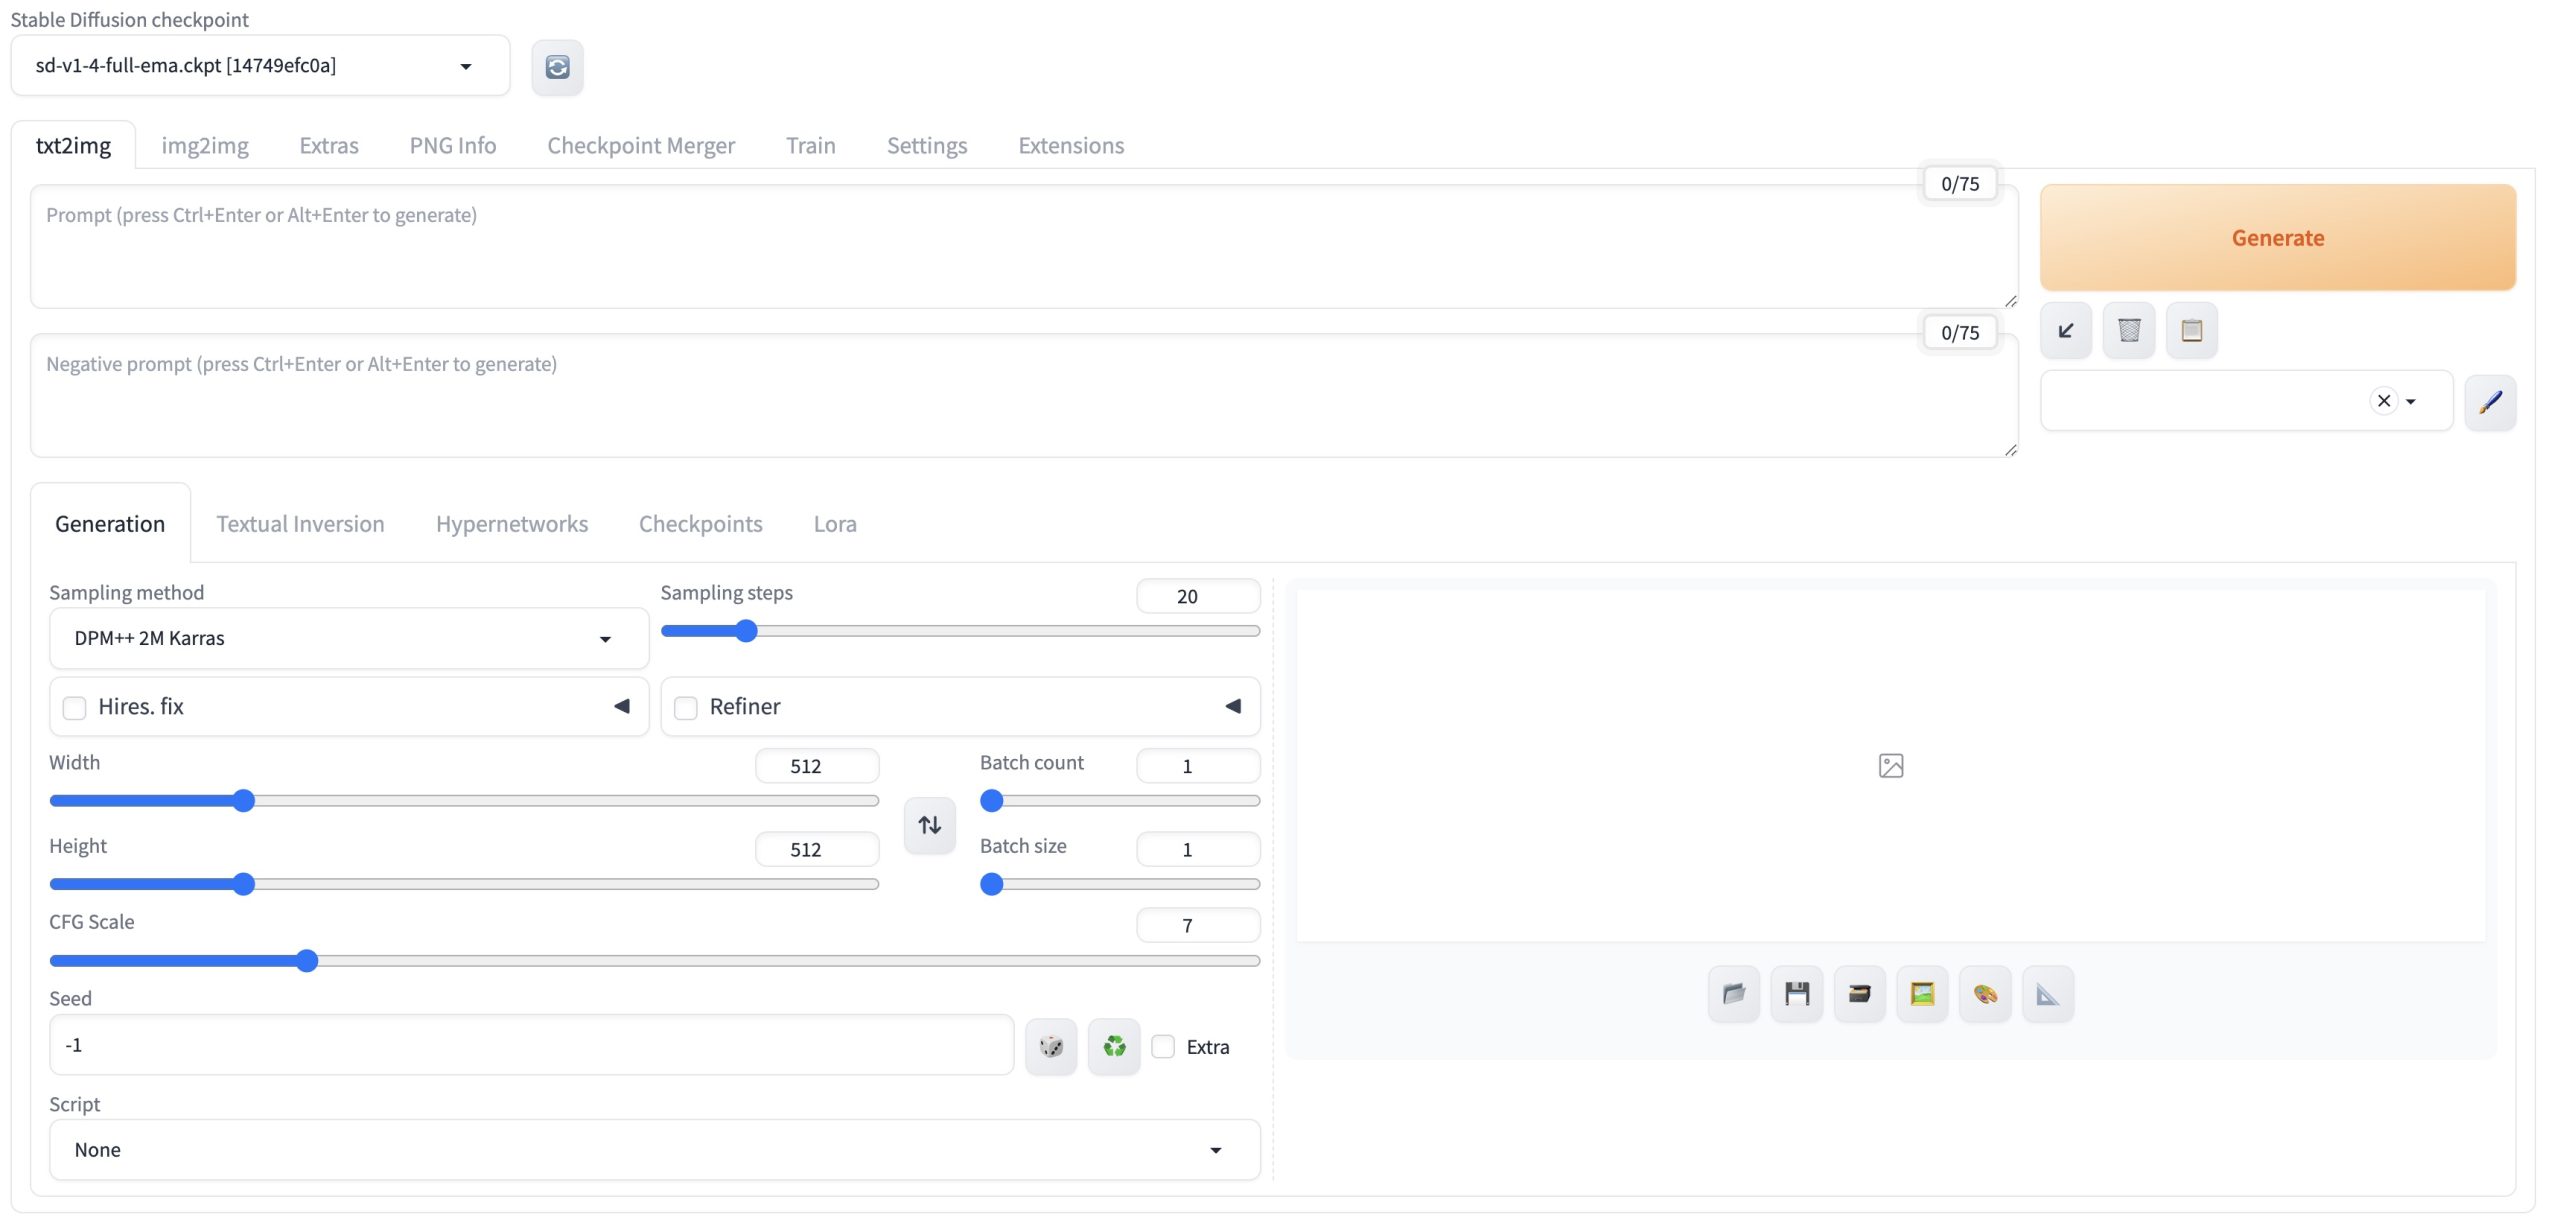
You can start “drawing” now ~
Install new Checkpoint or Lora
We need to move to the directory that stores the repository, and enter the directory /data/models
cd data/models
- Install Checkpoints
cd Stable-diffusion/Move the checkpoints into this directory and then press the update button on the Web UI
There are two-way for changing the Stable Diffusion models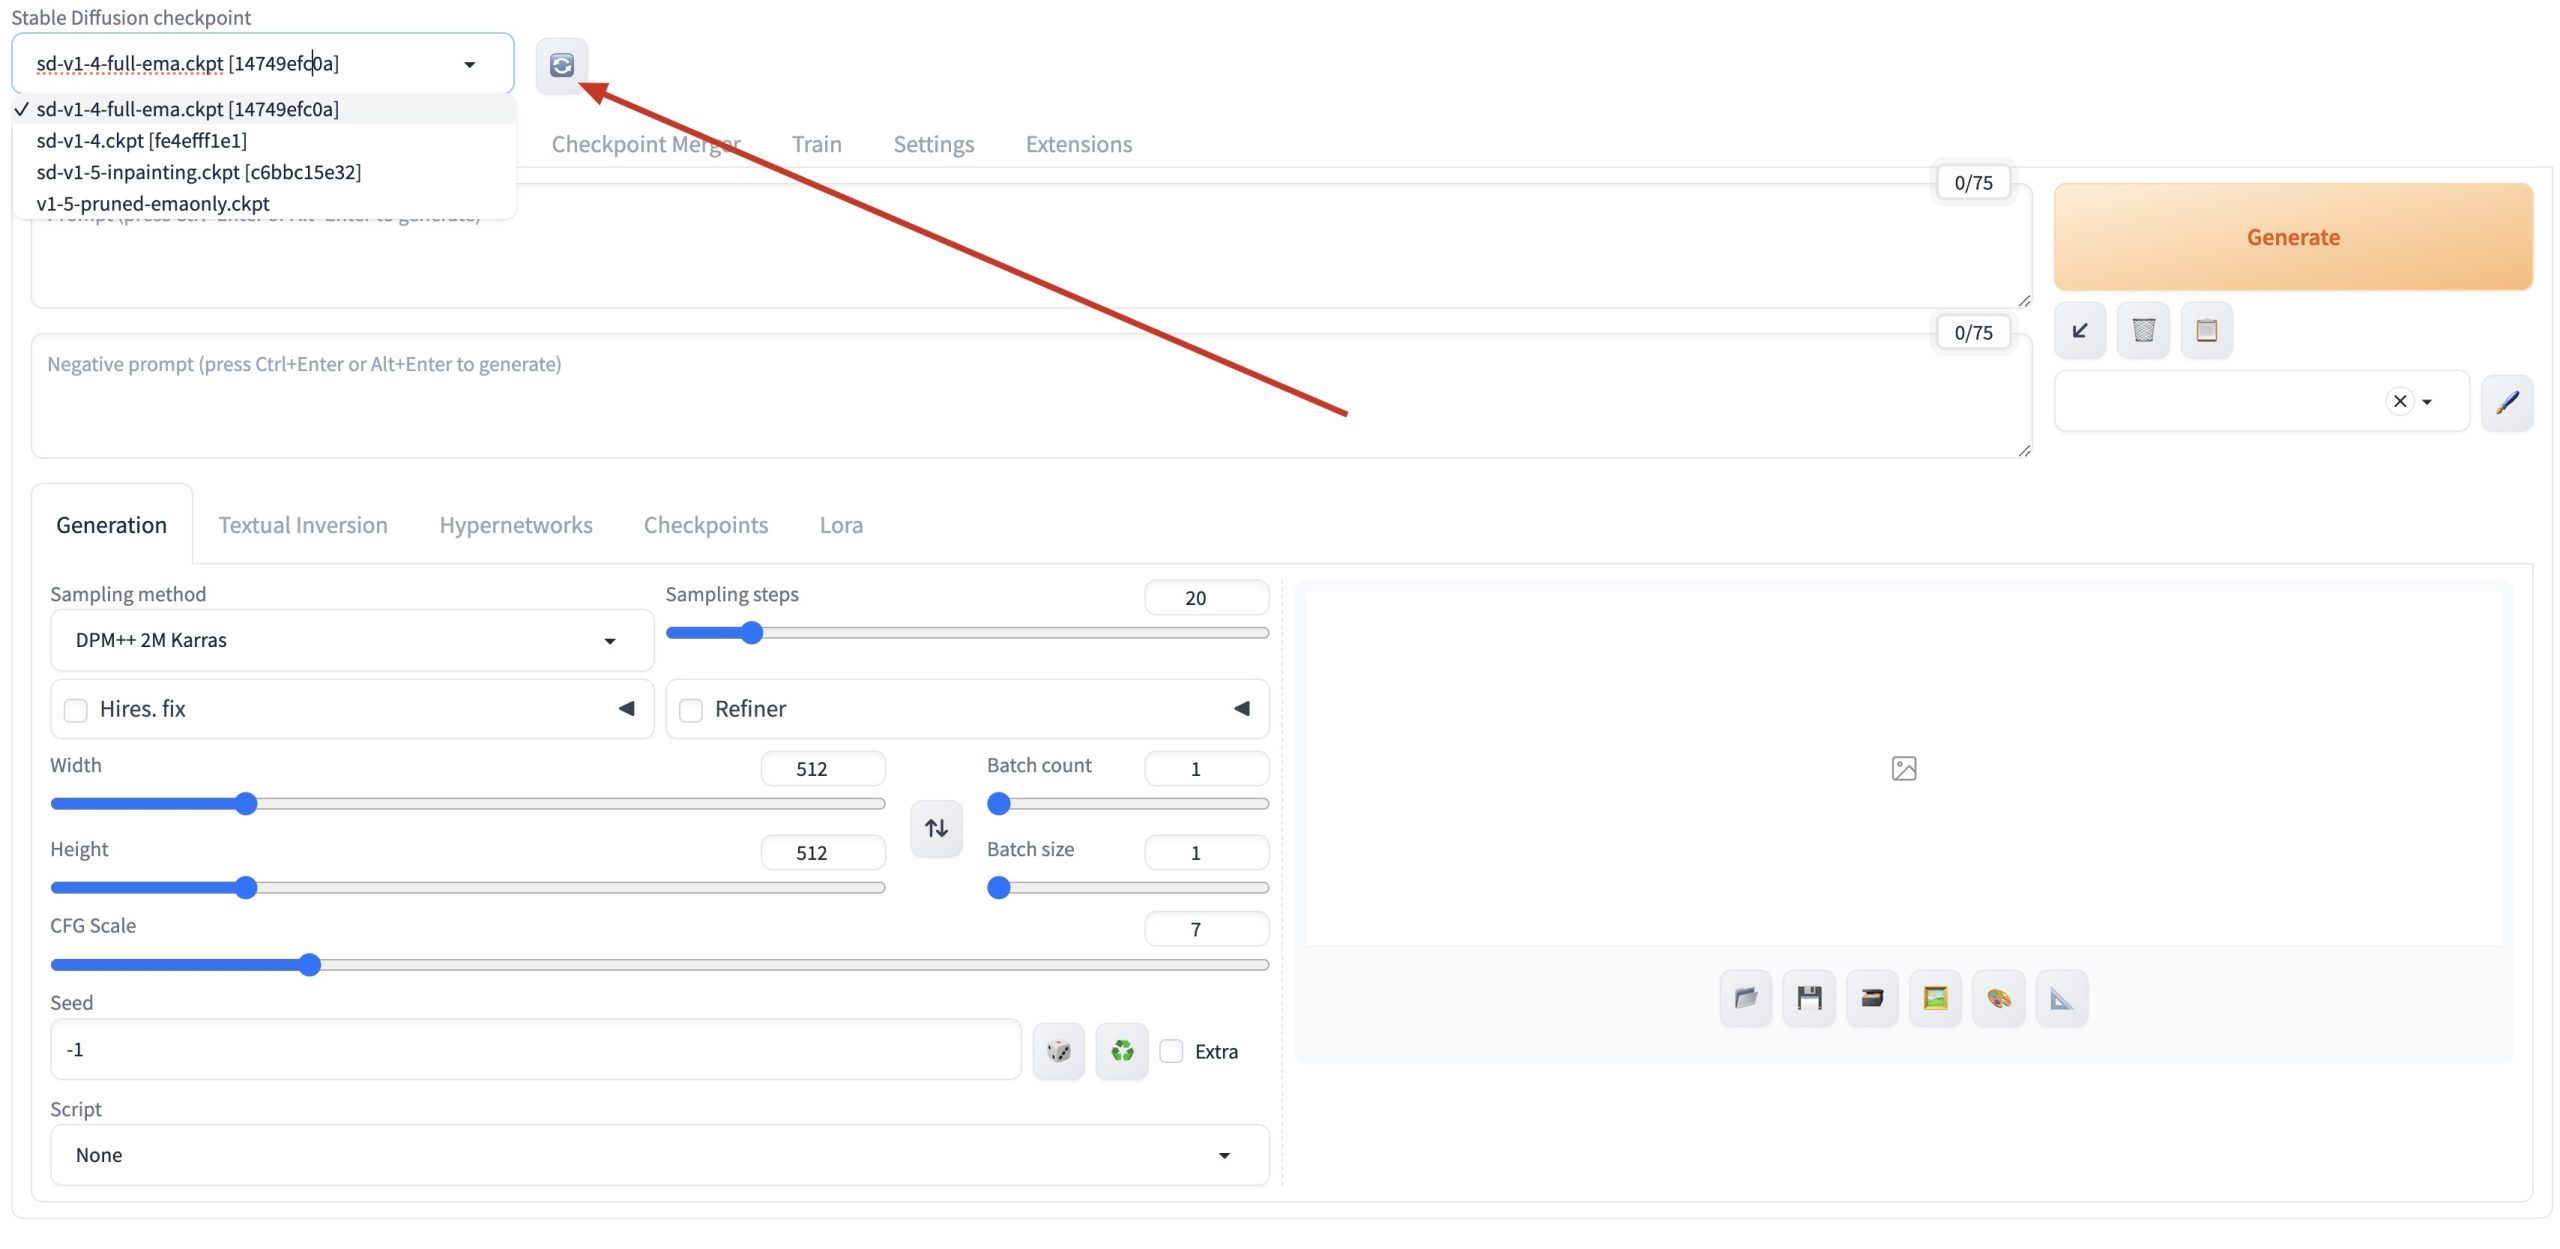
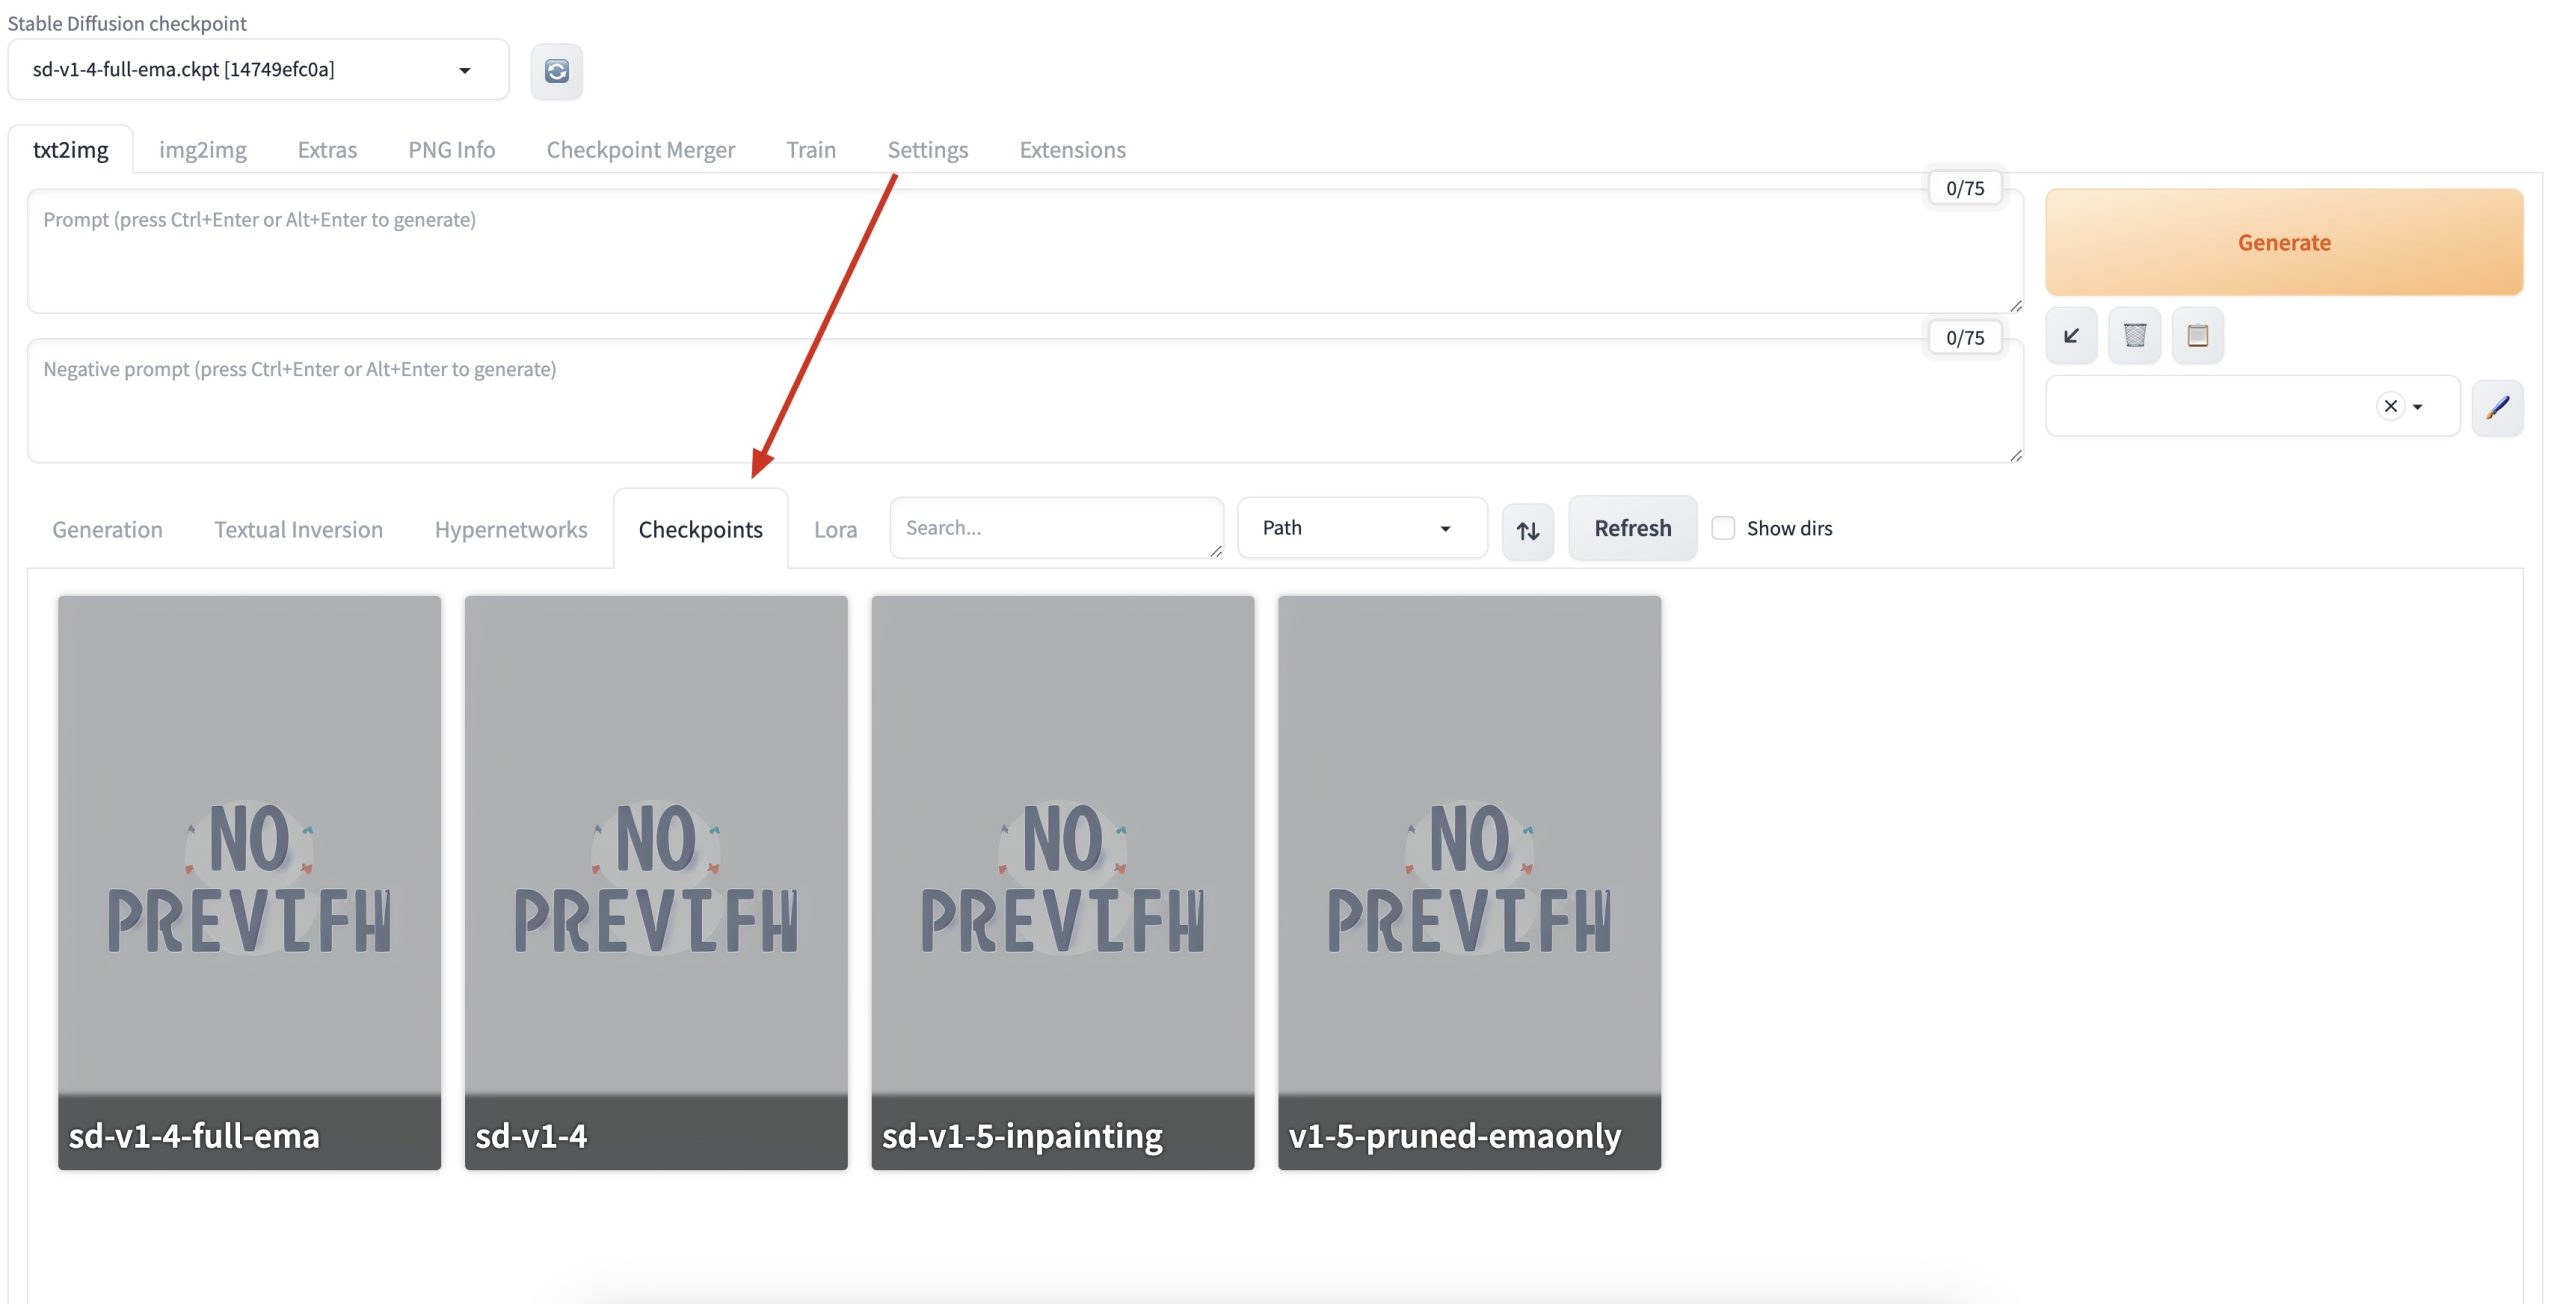
- Install Lora
Actually, this is very similar compare to installing checkpoints
Still we need to “cd” to the directory where the repository is locatedand then “cd” to data/models/Lora
cd data/models/Loramove or copy your Lora file to that directory will worked
also you can change the Lora in Web UI like the picture below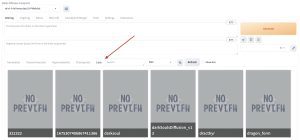
Where to find new models and Loras?
I will share a website that I often used to seek for new interesting models: https://civitai.com/
I hope this article helps you in playing with AI panting