System Selection
There isn’t much to tangle about this, as the systems you can install on a Raspberry Pi are generally limited to a few options. I believe it’s best to go with the official Raspberry Pi OS. Of course, I have also tried installing Ubuntu Server and Desktop systems on the Raspberry Pi.
![]()
![]()
Let me share my experience. If your development environment requires a graphical user interface, I think the best choice is the official Raspberry Pi Image; otherwise, you won’t have a good experience. I’ve tried Ubuntu Desktop 22.04 and 20.04, and given the Raspberry Pi’s limited GPU rendering capabilities, running the Ubuntu desktop operating system is a bit too demanding, resulting in a very poor experience.
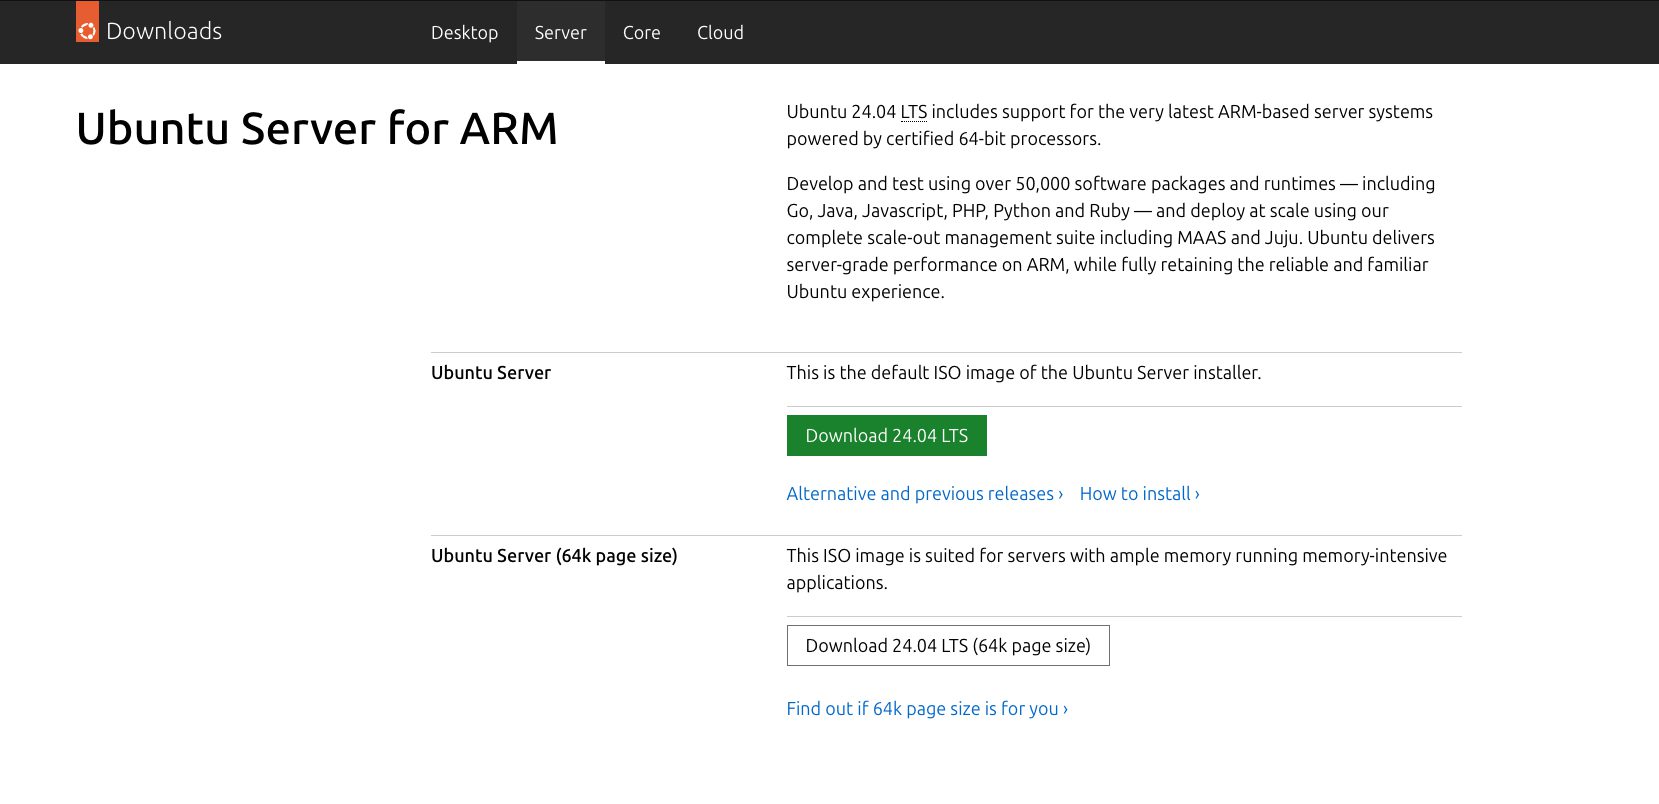
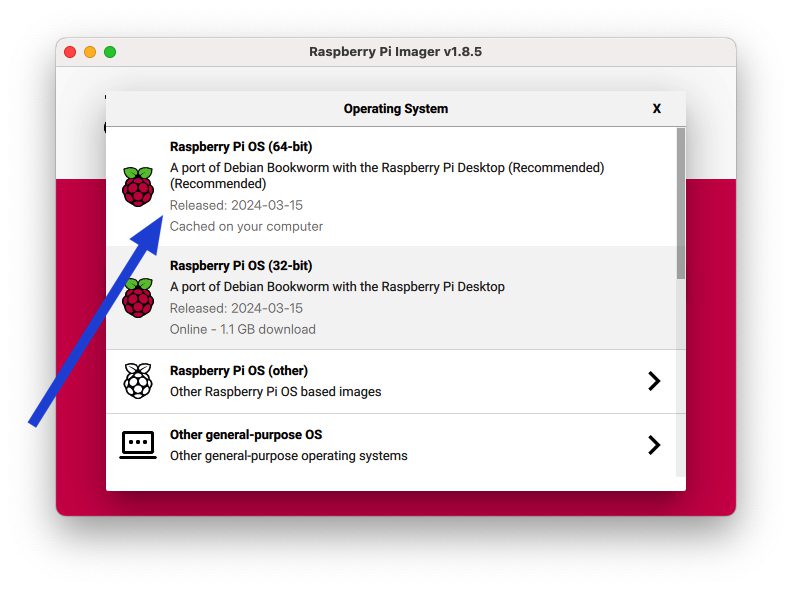
On the other hand, I used to switch to Ubuntu a few years ago because the Raspberry Pi did not provide a 64-bit system at that time, only a 32-bit one, which was slightly weaker in performance. However, now the official Raspberry Pi OS also offers a 64-bit system. I believe there is no need to use other third-party systems anymore, as the official adaptations and drivers provided are undoubtedly the best. Moreover, the official Raspberry Pi OS is the only one among the systems I’ve used that doesn’t lag on the desktop.

As a Raspberry Pi novice, I recommend blindly going with the official system, as you can always configure any desktop system to run in a command-line mode.
System Flashing
Here I will explain two methods for flashing the system. Both can be used, but I recommend using the official Raspberry Pi imaging software. However, for the sake of universality, I will also introduce a general method for flashing.
Official Raspberry Pi Software Flashing

This software is universally compatible across platforms, with official installation packages provided for Ubuntu, Windows, and macOS:
Windows: https://downloads.raspberrypi.org/imager/imager_latest.exe
macOS: https://downloads.raspberrypi.org/imager/imager_latest.dmg
ubuntu: https://downloads.raspberrypi.org/imager/imager_latest_amd64.debAfter downloading, open the software.
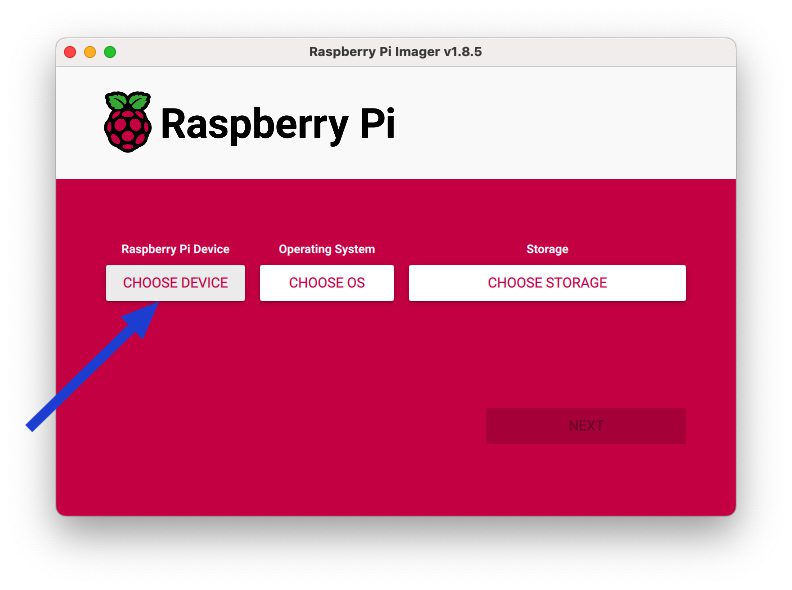
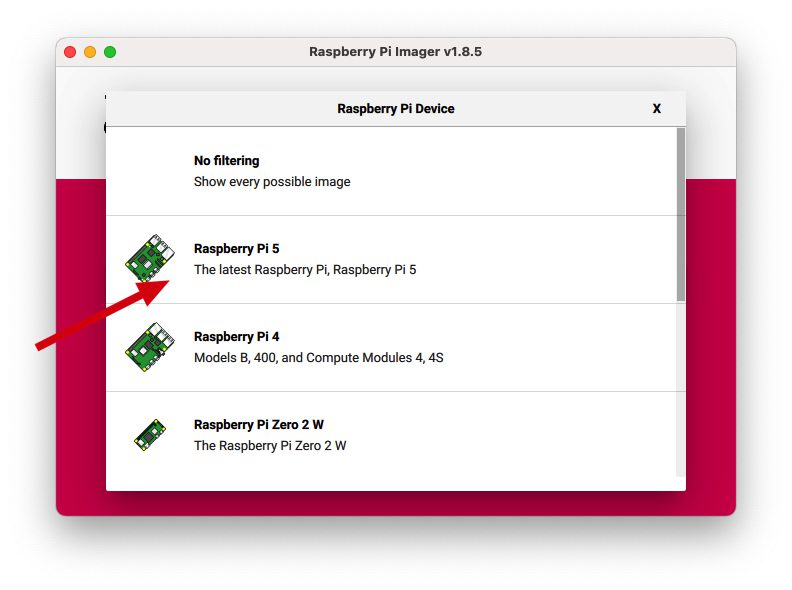
Select “Choose Device,” then select the Raspberry Pi 5 motherboard, and proceed to “Choose OS.” I strongly recommend choosing the new 64-bit operating system for better performance.
Next, select your SD card.
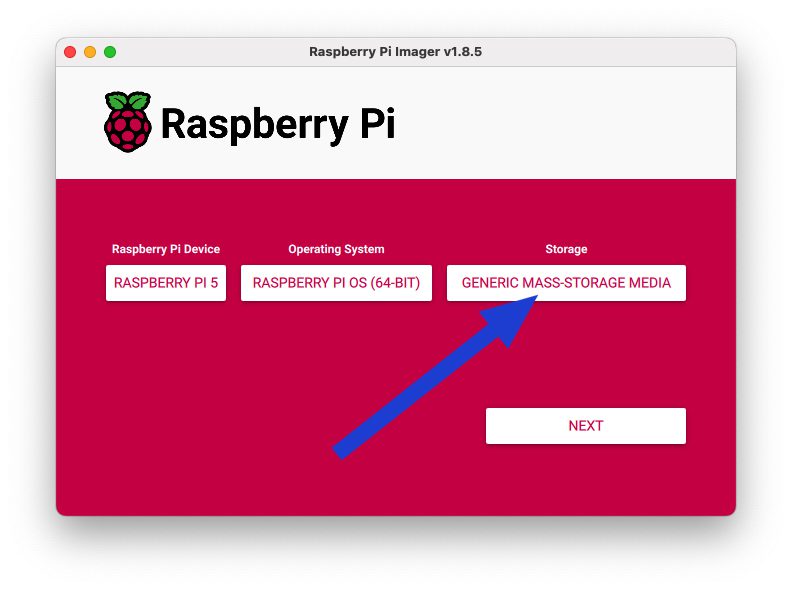
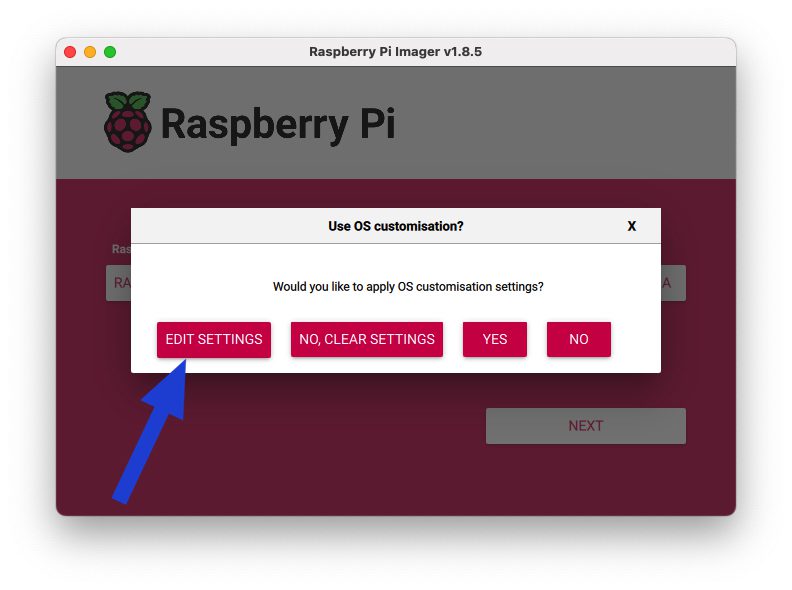
Then click “NEXT.” I will cover two methods below. The first is the installation method with a display, and the second is the method without a display. PS: The initial steps for both methods without a display are the same as those with a display, so follow the tutorial for the display first, then look at the additional steps for no display.

With Display
On this page, first set the Raspberry Pi’s hostname, which can be used for SSH login.
Then set your username and password for logging in.
The last one is for setting the time zone and keyboard layout, which you can set according to your situation.Without Display
Based on the previous image, configure your LAN network, where SSID is your Wi-Fi network name, and Password is your Wi-Fi network password. It’s recommended to choose the US for the Wi-Fi country, as it supports more network segments.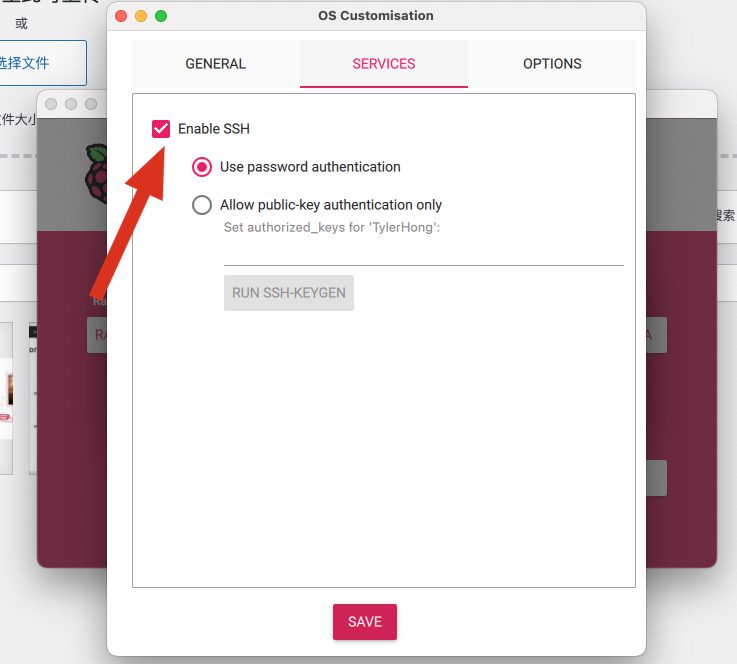
Then select the “SERVICE” tab and enable the SSH option. The SSH login method requires you and your Raspberry Pi to be connected to the same Wi-Fi network or be on the same network segment, and then use SSH to log in from your computer terminal with the password you created.
Afterward, proceed step by step and wait for the software to flash the system onto the SD card. Remove the SD card, insert it into the Raspberry Pi, and plug in the power adapter. The blinking green LED on the Raspberry Pi indicates that the system has successfully booted. You can then use a display or SSH to start using the Raspberry Pi.